|
3D C/C++ tutorials -> OpenGL
Use for personal or educational purposes only. Commercial and other profit uses strictly prohibited. Exploitation of content on a website or in a publication prohibited.
OpenGL 1.5
|
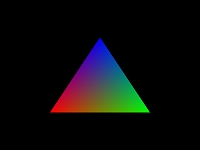
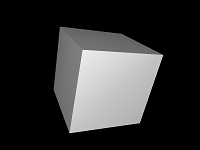
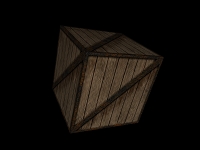
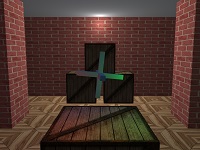
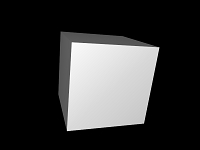
Multisample antialiasing
Multisample antialiasing (MSAA) is a type of antialiasing technique used to improve image quality. Multisampling refers to any special case of (optimized) supersampling where some components of the final image are not fully supersampled.
A window is created and a regular pixel format is set. The next step is to call the wglChoosePixelFormatARB function to choose from the list of supported MSAA pixel formats. The window is then destroyed, recreated and the chosen MSAA pixel format is set.
>> Multisample antialiasing <<
|
OpenGL 2.1
|
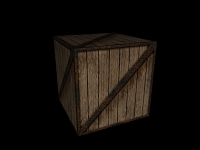
OpenGL, Win32, GLEW, FreeImage, GLM
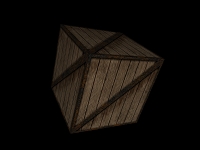
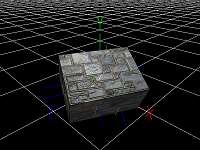
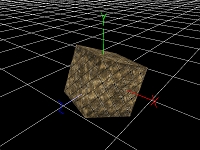
This tutorial covers regular and OpenGL 3+ forward compatible rendering context initialization in a Win32 window, fullscreen mode, FPS counter, extension handling using GLEW, multisample antialiasing, texture loading using FreeImage, trilinear anisotropic texture filtering, GLSL vertex and fragment shader programs loading with info log if errors occurred, vector and matrix operations and third person camera implementation using GLM.
>> OpenGL, Win32, GLEW, FreeImage, GLM <<
|
|
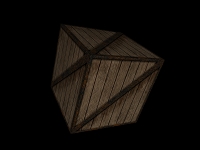
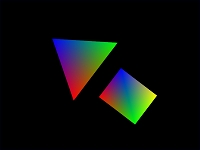
Camera
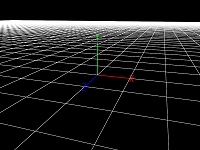
Third person camera is controlled by the W, S, A, D, R, F, SHIFT and CTRL keyboard keys. This keys move the camera position forward, backward, left, right, up, down, faster and slower. Camera view is changed by moving the mouse while holding down the right mouse button. The mouse wheel sets the distance of the camera position from the reference point. The CCamera class is used to calculate the view matrix.
>> Camera <<
|
|
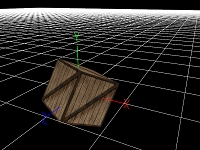
OpenGL 2.1 tutorials Win32 framework
You can use this tutorial as a starting point for creating your own Win32 OpenGL 2.1 applications that support
- Model-View-Controller pattern
- Object-oriented programming
- Vector and matrix operations
- Texture loading using FreeImage
- Trilinear anisotropic texture filtering
- GLSL vertex and fragment shader programs loading with info log if errors occurred
- Third person camera
- Regular OpenGL rendering context initialization
- Multisample antialiasing
- OpenGL functions and extensions handling using GLEW
- Vertical synchronization disabling
- FPS counter
>> OpenGL 2.1 tutorials Win32 framework <<
|
|
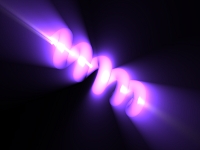
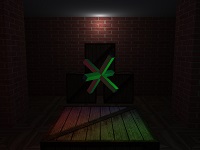
God rays
Inspired by NeHe's radial blurred cool shaped helix tutorial we decided to rewrite it and use vertex buffer object, frame buffer object and GLSL 1.2 shaders.
Vertices and per-vertex normals of the helix are pre-calculated and stored in VBO. Per-pixel illuminated helix is rendered directly to a texture using FBO and the god rays shader is applied to a screen-aligned quad textured with FBO attached color texture. Modified radial blur is done in pixel shader by blurring every pixel of the original image in a direction to the center of the blur.
>> God rays <<
|

|
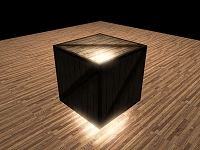
GLSL cube mapping
Cube mapping is a method of environment mapping that uses a six-sided cube as the map shape. Cube mapping provides large capacity to support real-time rendering of reflections.
>> GLSL cube mapping <<
|
|
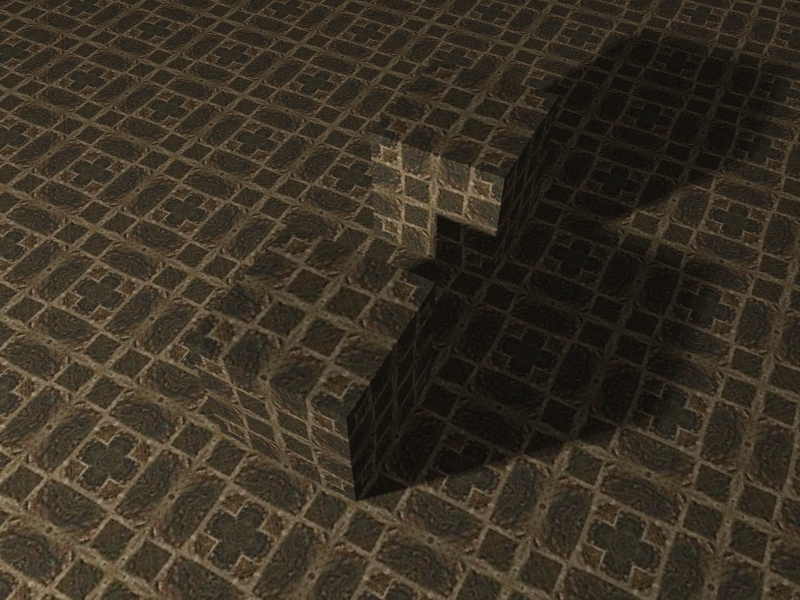
GLSL shadow mapping
Shadow mapping is a fast technique to achieve real time shadows in a 3D environment with self shadowing of objects.
Shadow map (the depth buffer of the scene as seen from the light) is rendered directly to a depth texture via FBO. There is no color texture bound to the FBO and color writes are disabled by the glDrawBuffers function. The shadow matrix is used to calculate fragment's coordinates in shadow map texture space. To determine whether a fragment is shadowed or not, fragment's depth (the z coordinate) is compared with the value saved in the shadow map (at xy position) - this is done by the shadow2DProj function (it also performs w-division before depth comparison).
You should read the GLMath and OpenGL perspective projection pages to understand the math behind shadow mapping.
>> GLSL shadow mapping <<
|

|
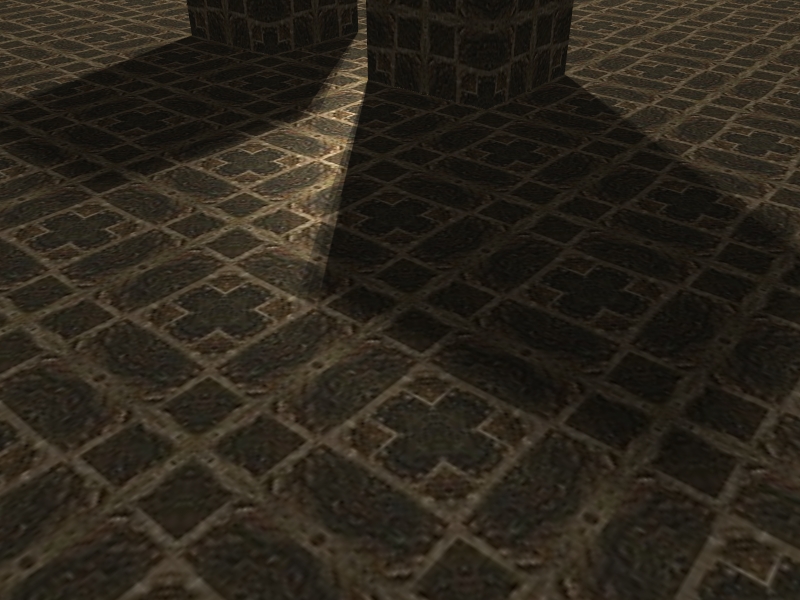
Fast realistic soft penumbra shadows
Extended GLSL shadow mapping - 4 additional shadow maps are generated with different light view matrices applied and fragments are shadowed using modified percentage closer filtering (PCF) algorithm. All 5 shadow maps are stored in one bilinearly filtered 2D array depth texture (GL_TEXTURE_2D_ARRAY, sampler2DArrayShadow). A depth comparison lookup on an array layer of the depth texture is done by the shadow2DArray function. GL_EXT_framebuffer_object and GL_EXT_texture_array extensions must be supported.
>> Fast realistic soft penumbra shadows <<
|

|
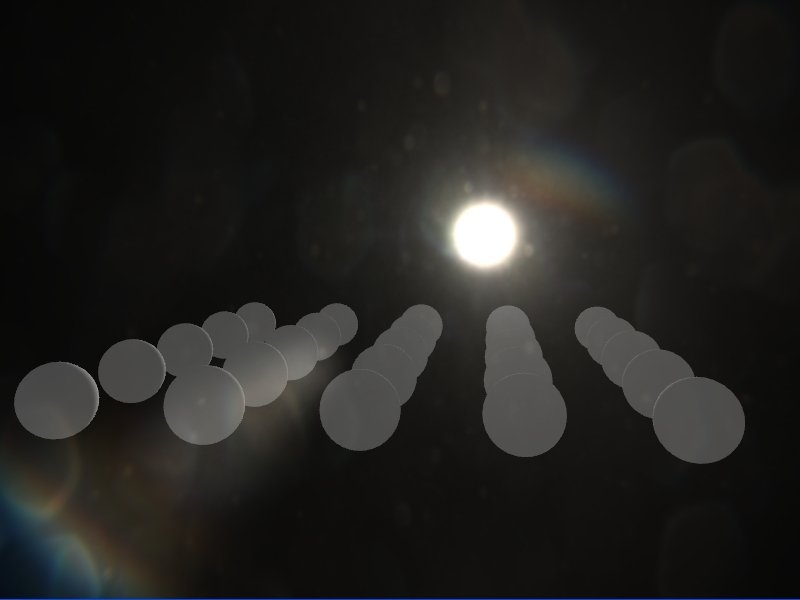
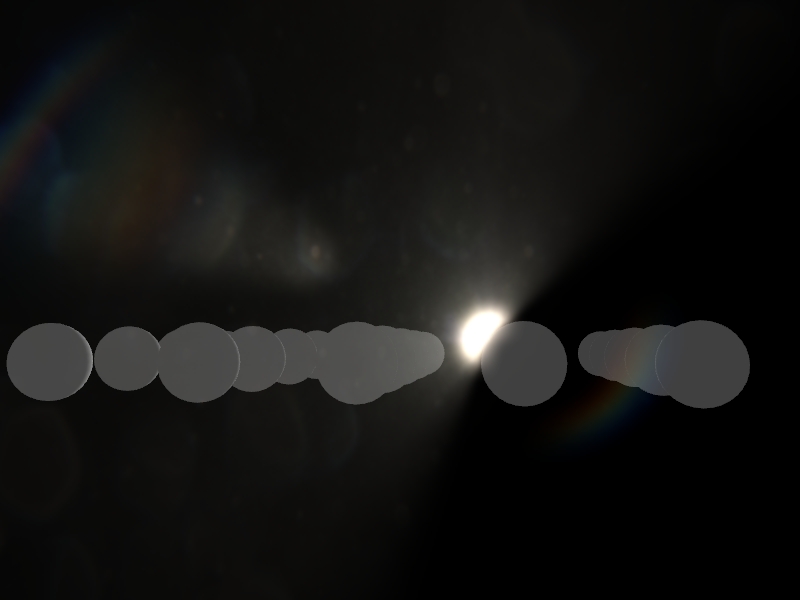
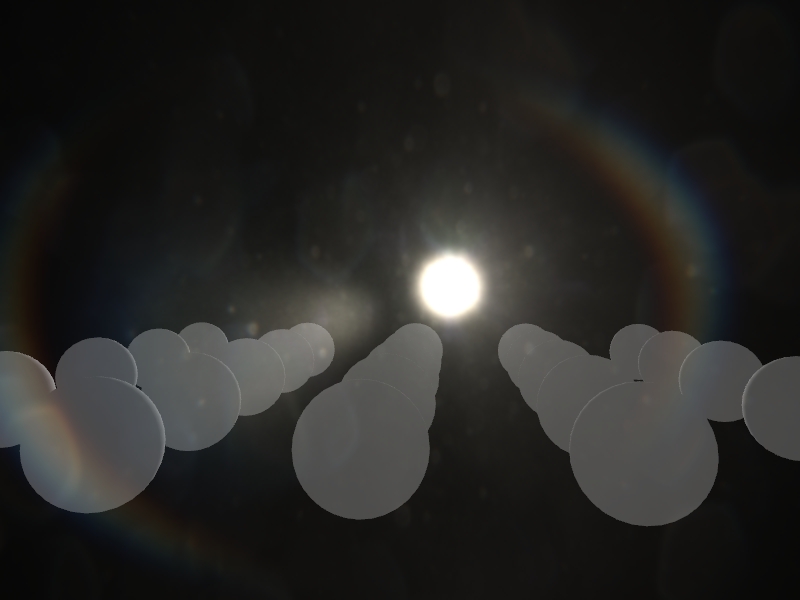
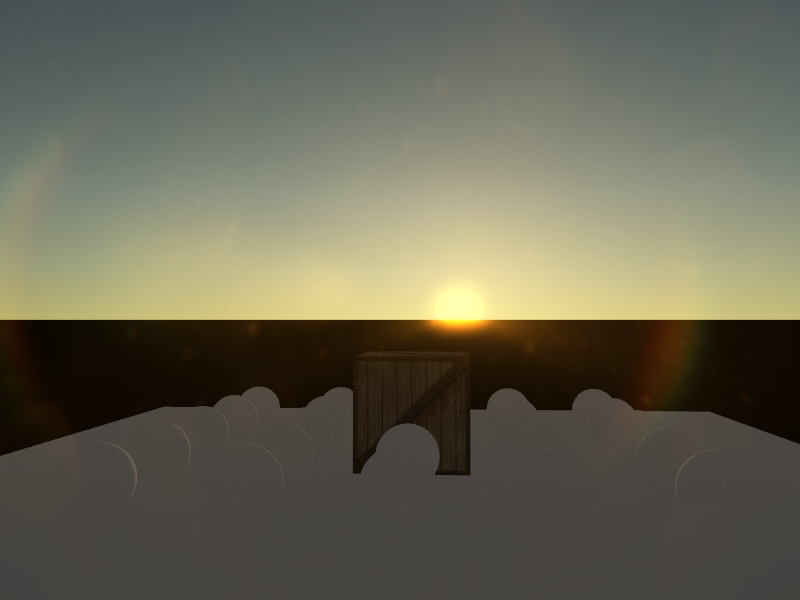
Sun rays, lens flare, halo
This is our implementation of the pseudo lens flare tutorial you can read about on www.john-chapman.net.
>> Sun rays, lens flare, halo <<
|

|
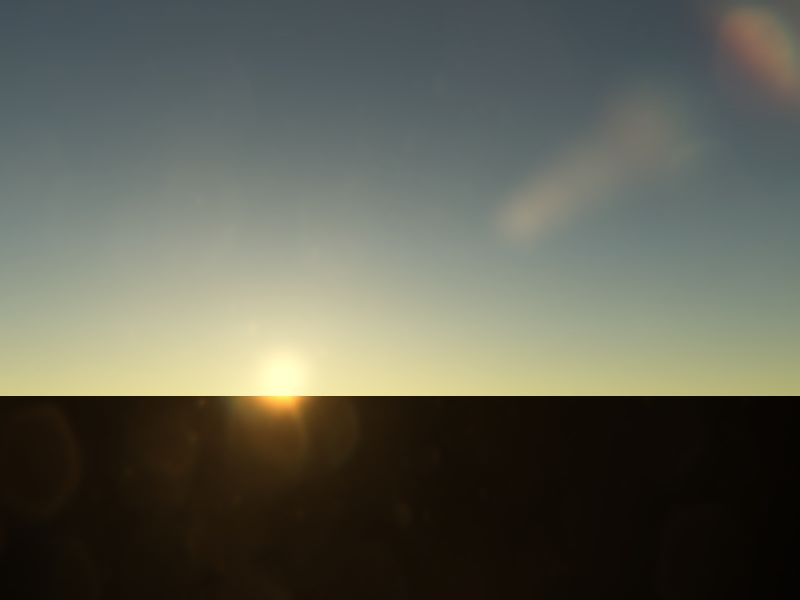
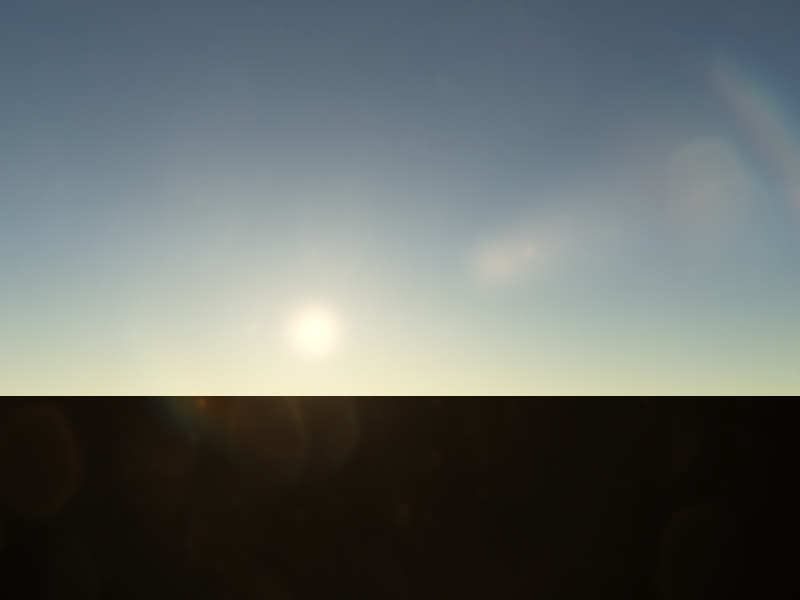
Atmospheric light scattering
Previous sun rays tutorial is extended with Sean O'Neil's atmospheric light scattering GLSL shader. Some changes are made in order to solve realistic sunrise and sunset rendering.
>> Atmospheric light scattering <<
|
|
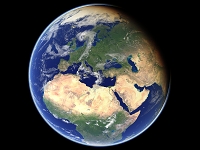
Planet Earth from space
In this simple planet rendering tutorial we used scattering shaders from the real-time procedural universe project downloadable from www.sponeil.net.
>> Planet Earth from space <<
|

|
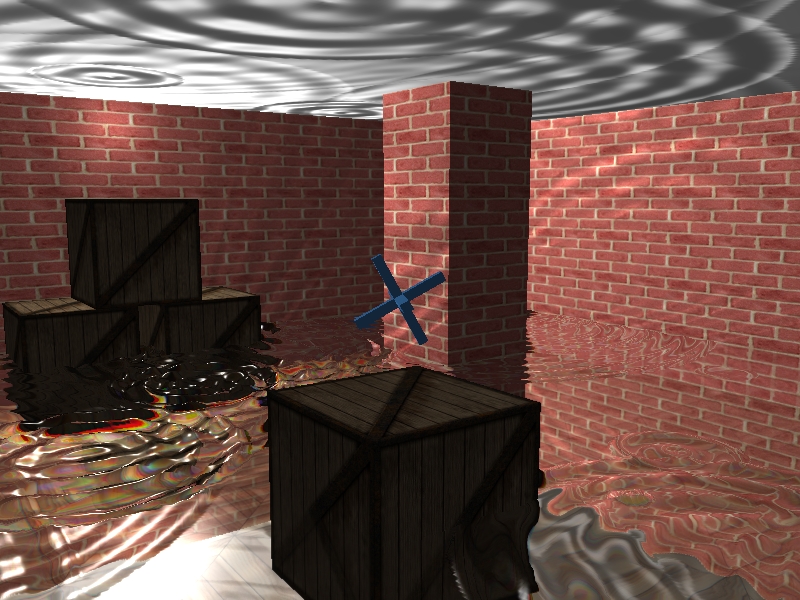
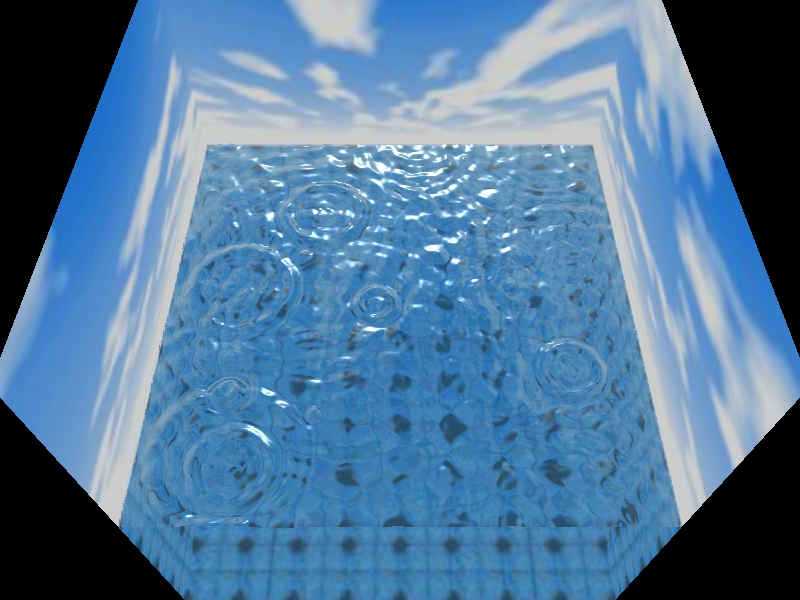
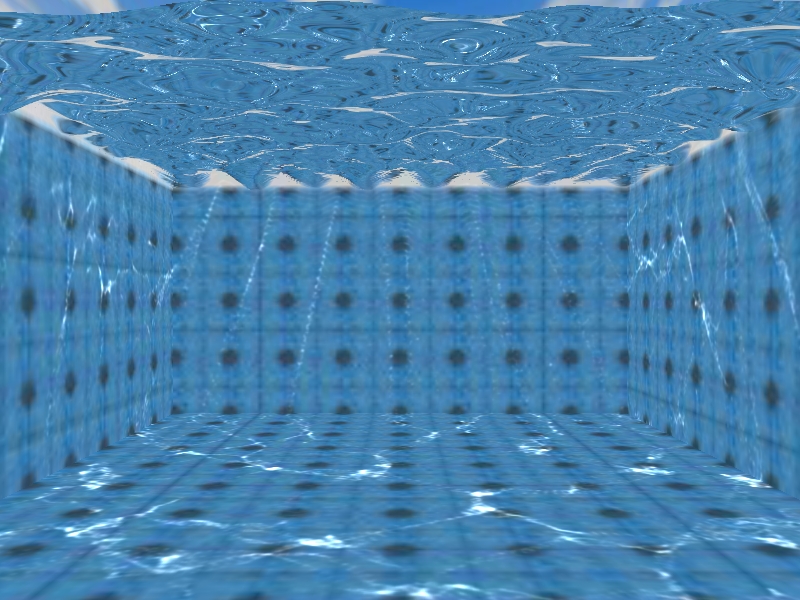
Interactive water surface, light reflection and refraction, caustic
First, the water surface 512x512 normal-bump-map (NBM) RGBA32F texture is created using a wave function in the fragment shader. The surface normal is calculated as an optimized cross product of 4 neighboring vertices and is stored in the rgb channels. The surface height (y value) is stored in the alpha channel.
The light reflection and refraction effects are a bit tricky. There is one reflection, one refraction and one depth texture. All of them are the size of the screen. The reflection texture is rendered via FBO with a clip plane (flat water surface) applied. Everything above the water is rendered twice. First time the normal way, second time upside down (the y-coordinates of the objects are scaled by -1 and then translated by the water level multiplied by 2) thus rendered to the region under the water. The refraction and depth textures are just copies of the color and depth buffers after rendering the whole (unclipped) scene for the third time.
It takes only one line (fragment and light positions) plane (flat water surface) optimized intersection test to calculate the coordinates to fetch the NBM texture and one dot product of the NBM normal and light direction to calculate caustic at the time when lighting is performed.
Finally, the water surface 128x128 polygonal model is rendered with the water shader applied. In the vertex shader the vertex is vertically displaced according to the height read from the alpha channel of the NBM texture. In the fragment shader the reflection and refraction textures are fetched with a little offset depending on the NBM normal's xz coordinates.
You can change the water level with the +/- keyboard keys and add waves by clicking on the water surface with the left mouse button.
>> Interactive water surface, light reflection and refraction, caustic <<
|
|
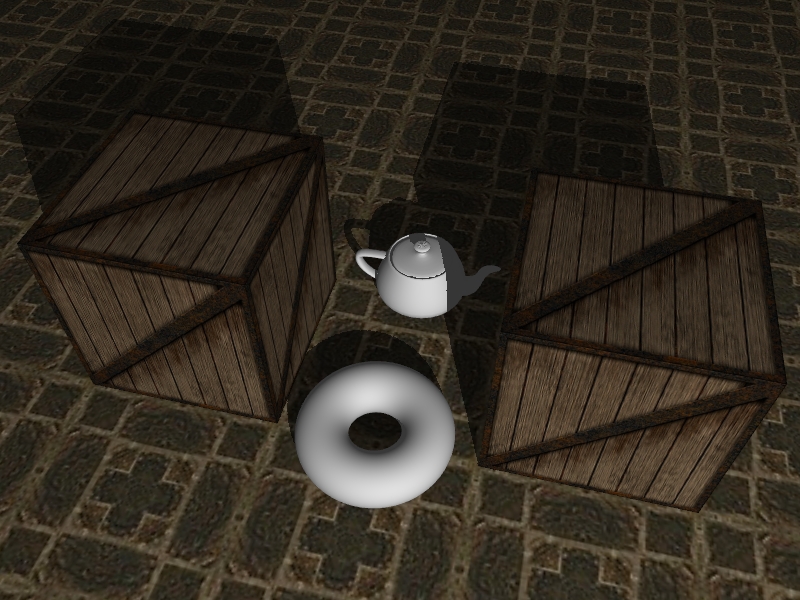
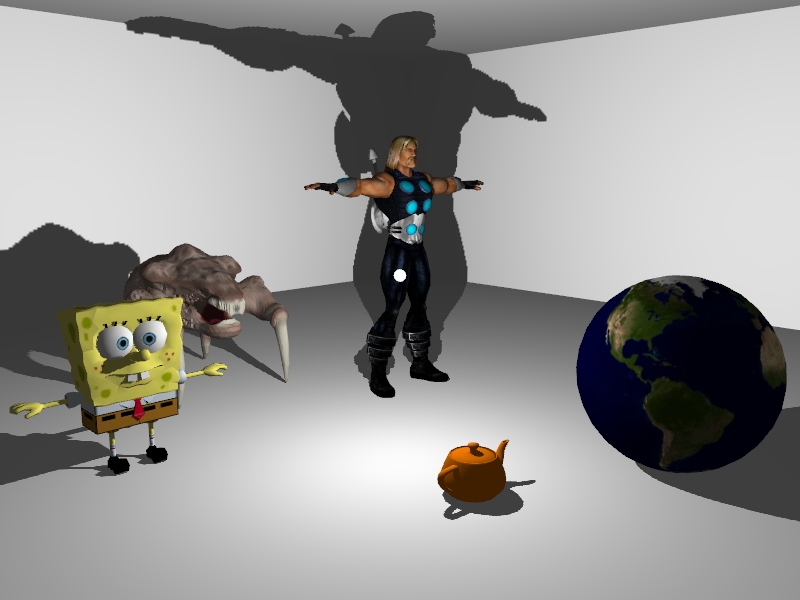
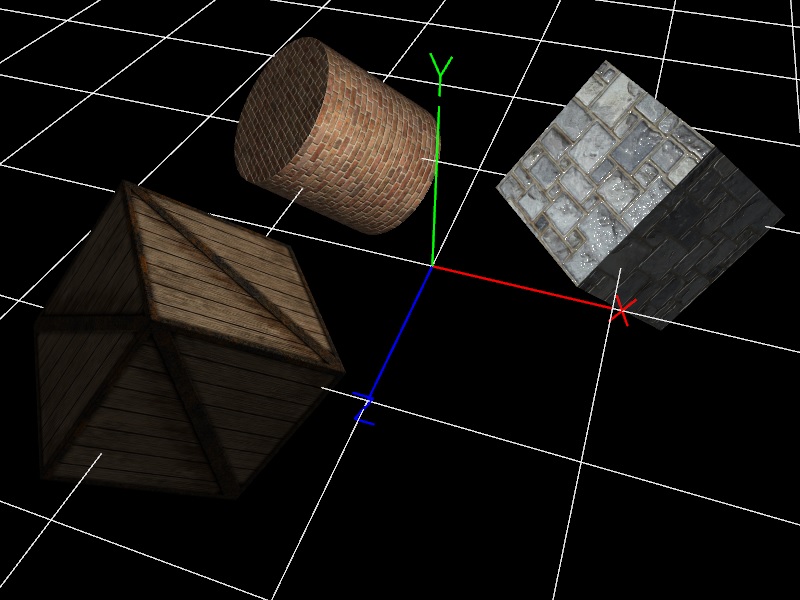
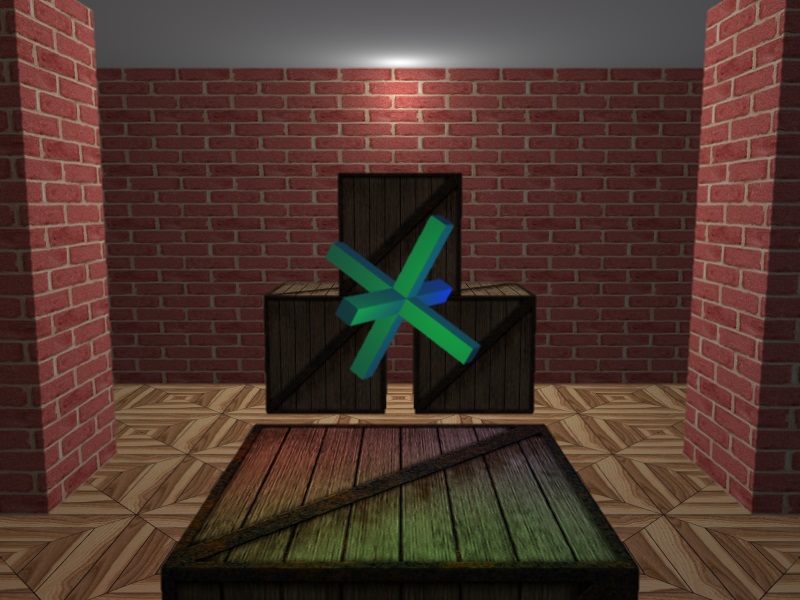
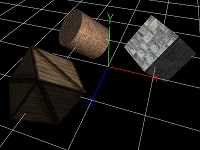
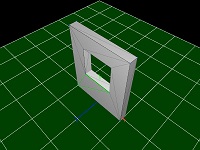
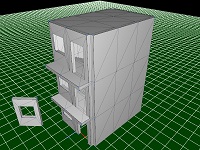
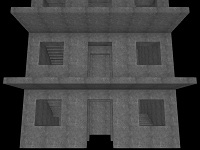
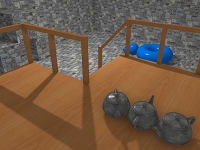
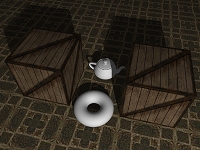
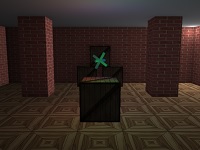
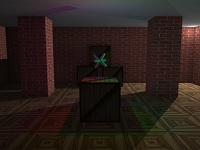
Loading, picking and moving objects
The CObject class is implemented with couple of useful methods to parse a Wavefront OBJ file, load data, create a 3D model, adjust and render it.
The color picking method is used to determine which object was selected with the left mouse button click. If an object is selected, the pixel under the cursor is unprojected to world space and a plane equation is calculated.
When the cursor is moved and the left mouse button is held down and an object is selected, the second unprojection is performed to get a ray. This ray is then intersected with the plane calculated earlier to derive the offset to shift the selected object.
>> Loading, picking and moving objects <<
|

|
GLSL shadow cube mapping
Another extended GLSL shadow mapping. 6 light matrices are calculated and 6 corresponding shadow maps (6 sides of a cube: right, left, top, bottom, back and front) around the point light are rendered to one bilinearly filtered array depth texture. In the fragment shader the largest magnitude coordinate (the major axis) of the negative light direction vector is used to select one light matrix and one corresponding layer of the array depth texture. The selected light matrix is multiplied by the world space position of a fragment and a depth comparison lookup on the selected layer of the array depth texture is done by the shadow2DArray function.
>> GLSL shadow cube mapping <<
|
|
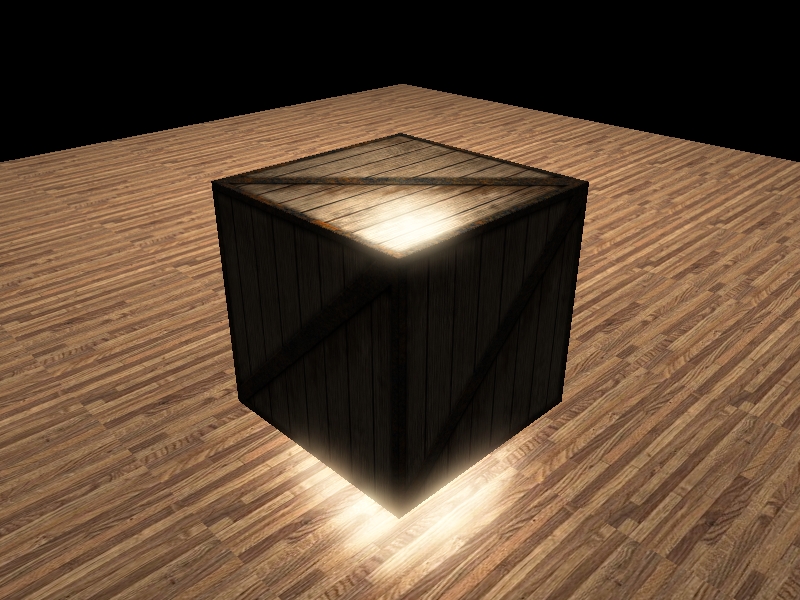
High dynamic range, bloom
The exposed scene is rendered to a texture with 16-bit color components (GL_RGBA16F texture format used). First, the maximal value of the RGB channels of the HDR image is found using a 2x2-supersampling-like shader. This calculations are done only 4 times per second for better performance. Next, the HDR scene texture is rendered to the LDR scene texture with the tone mapping shader applied. Finally, the brightest pixels of the LDR image are efficiently blurred and blended over the screen.
>> High dynamic range, bloom <<
|
|
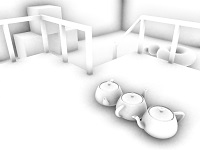
Screen space ambient occlusion
Screen space ambient occlusion algorithm samples the depth values around the current pixel and computes the amount of occlusion from each of the sampled points. This implementation requires normal buffer and works with normal mapping - produces occlusion on normal mapped surfaces. 16x sampling is performed using a randomly rotated kernel and noise is removed using a 9x9 blur filter with edge detection, so pixels on edges in final SSAO image are not blurred.
>> Screen space ambient occlusion <<
|
|
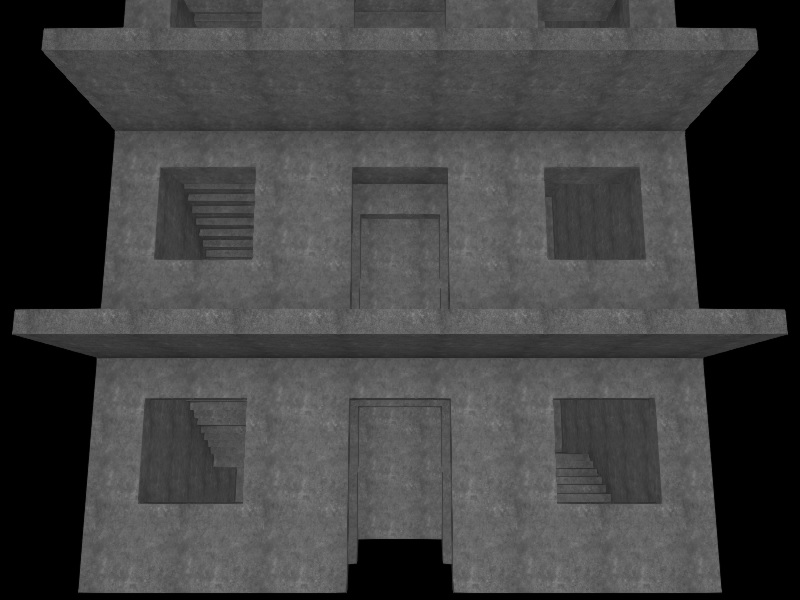
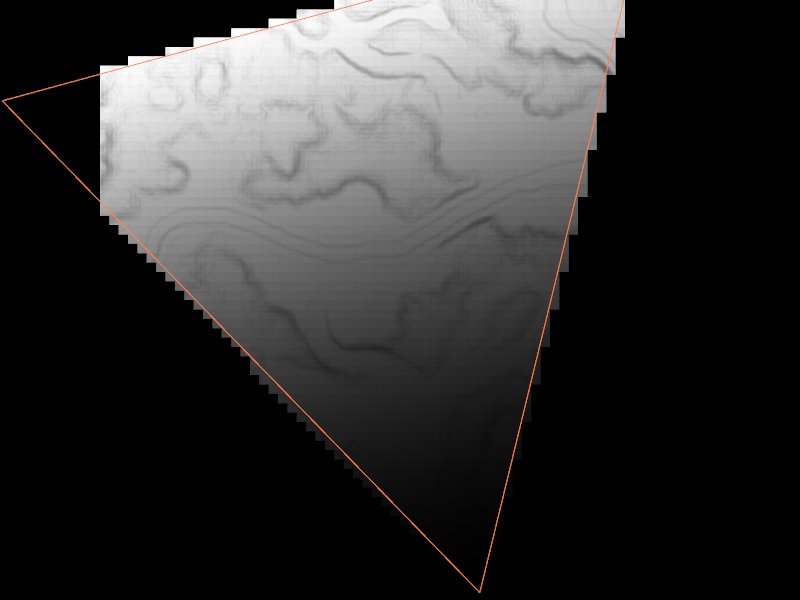
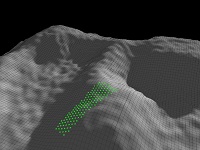
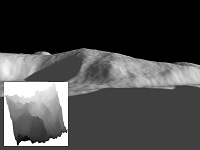
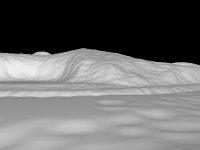
Terrain
Terrain rendering using 1 vertex buffer object and 1 index buffer object.
>> Terrain <<
|
|
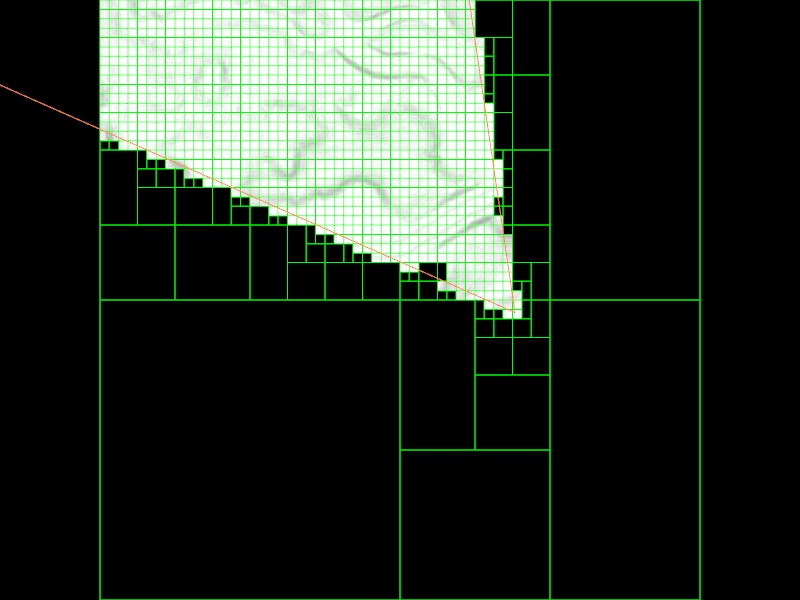
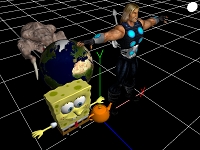
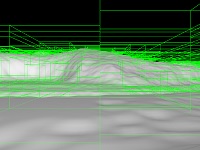
Binary space partitioning tree
Terrain rendering using 1 vertex buffer object, many index buffer objects, BSP tree and fast AABB frustum culling. Sorting visible geometry nodes from the nearest to the farest using the quicksort algorithm. With 3D and 2D visualization of the tree and with visualization of the rendering order of the visible geometry nodes.
>> Binary space partitioning tree <<
|
OpenGL 2.1 - Deferred rendering
|
Deferred rendering - Point lights
Deferred renderer draws to a color, depth and an additional view space normal buffer and performs lighting as a kind of post-processing step. That brings an advantage - lighting is decoupled from scene complexity. To minimize bandwidth costs, minimal frame buffer format is used - GL_RGBA8 (color/normal buffer) and GL_DEPTH_COMPONENT24 (depth buffer). This combination of normal and depth data is sufficient to calculate lighting in the second pass.
>> Deferred rendering - Point lights <<
|

|
Deferred rendering - Antialiasing
One of the problems of deferred rendering is that hardware MSAA doesn't work. This antialiasing method consists of an edge detection algorithm and a simple blur filter based on the "GPU Gems 3 - Chapter 19. Deferred Shading in Tabula Rasa" article.
>> Deferred rendering - Antialiasing <<
|
|
Deferred rendering - Screen space ambient occlusion
Previous tutorial is extended with the improved implementation of our original SSAO algorithm. The SSAO effect is calculated and blurred in half resolution to achieve better performance.
>> Deferred rendering - Screen space ambient occlusion <<
|
|
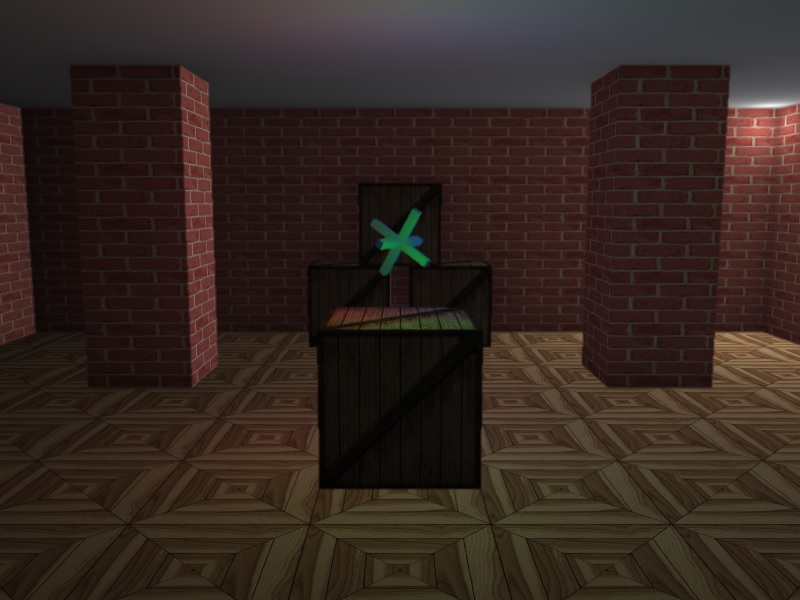
Deferred rendering - Shadow cube mapping
The last deferred rendering tutorial is extended with the glsl shadow cube mapping algorithm for all 4 lights. The lighting calculations in the deferredlighting.fs shader are done in view space. To get shadow mapping to work properly, the light direction vector needs to be transformed to world space by the inverse of the view matrix.
>> Deferred rendering - Shadow cube mapping <<
|
OpenGL 3.3
OpenGL ES 2.0

|
OpenGL ES 2.0 on Android
OpenGL ES 2.0 Android tutorial is coded in Java and compiled in Eclipse. It implements textures and shaders loading from the application resources, trilinear anisotropic texture filtering, vertex buffer object initialization and use and perspective projection with depth test enabled.
>> OpenGL ES 2.0 on Android <<
|
Projects
|
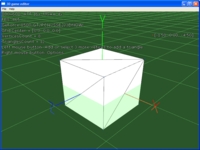
3D game editor
This will be a very long term project, expect updates sooner or later.
>> 3D game editor <<
|
Gallery
|